Thursday, April 10, 2014

All things CHICKEN!

It's been a very busy couple of days. I will start with our great chicken news. On Tuesday just after lunch, Mrs. K ran into our class and yelled in excitement that our eggs had crack in them! WOWZA! So the webcam started rolling and we streamed it all over the school. So sure enough, egg # 11 had a beautiful chip in the top. 

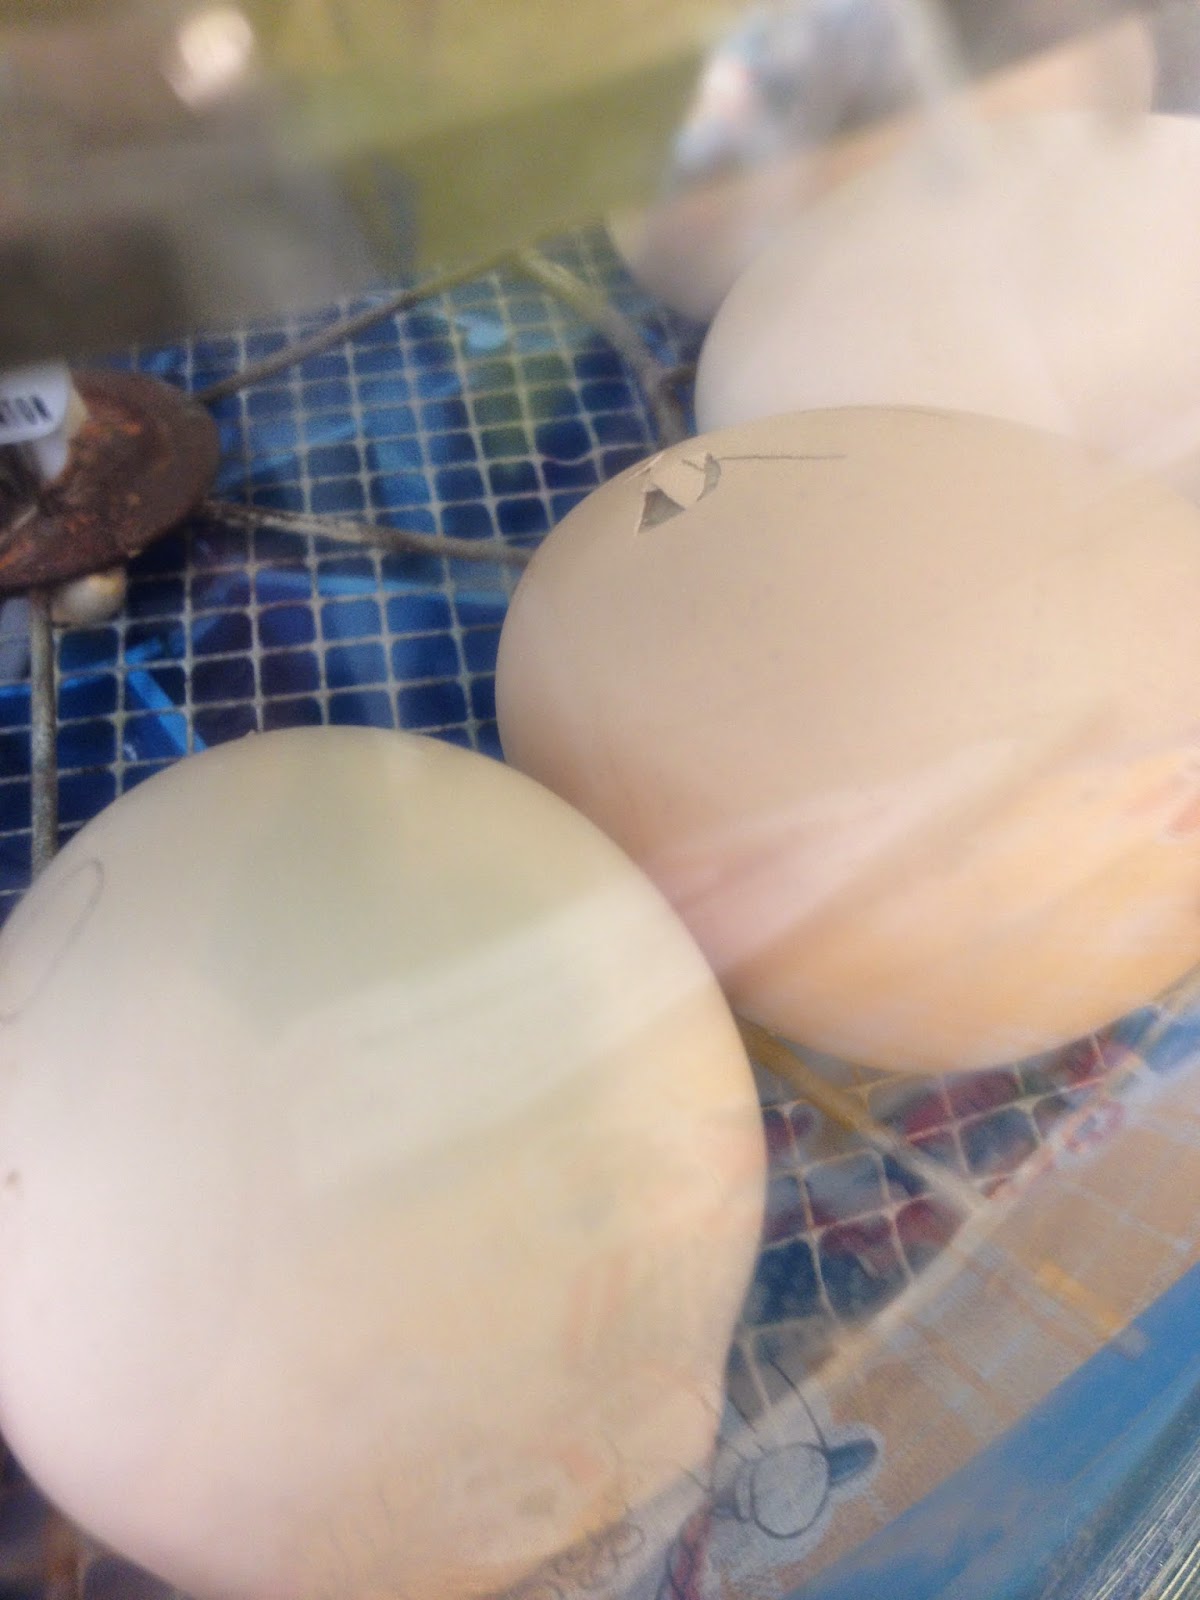
Not very much later, egg #8 joined in the fun with a tiny crack in the bottom: 

 And egg # 5 started to crack as well:

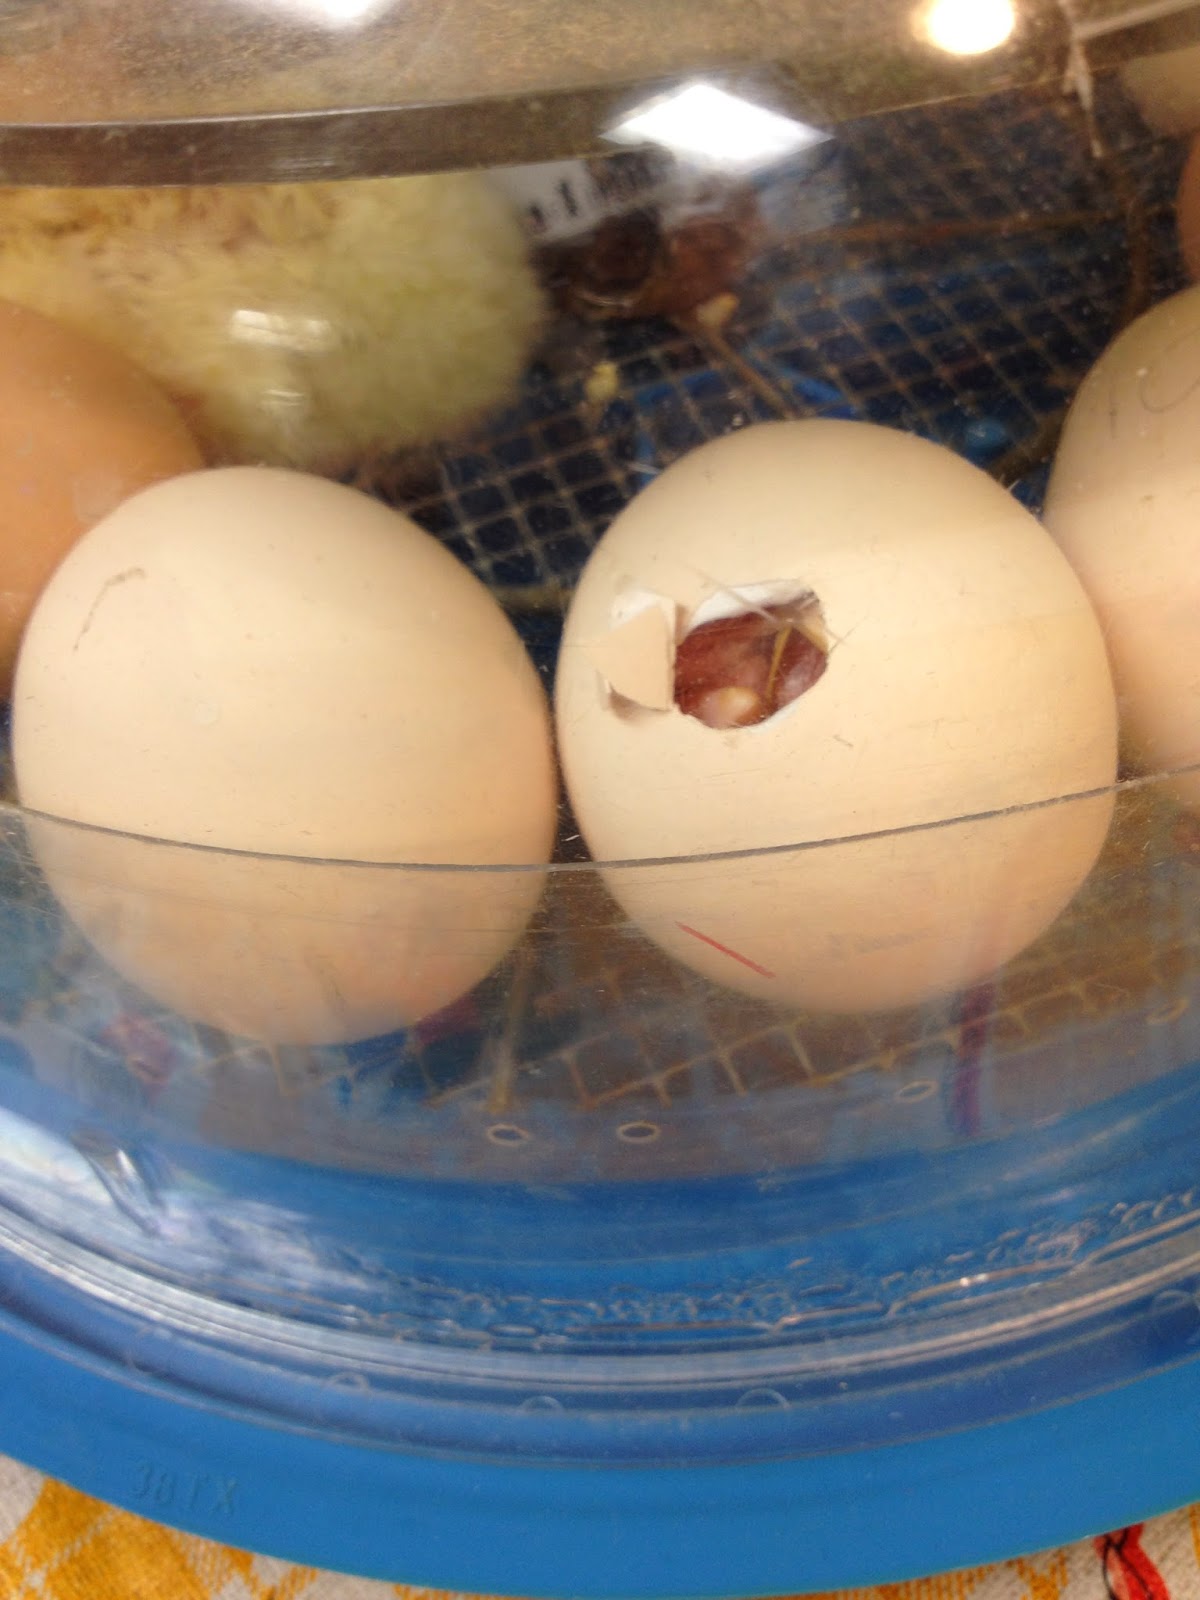
It was so exciting but no further progress occurred. By the time I had to leave for the night, a few of the crack were a bit bigger but no sign of chicks yet. As soon as I got home I jumped on the computer and started streaming our egg feed some more. You could see the little parts of the eggs move as the chick worked so hard to get free. A big chip came off of egg # 11 just before the camera shut off for the night. 

The next morning, I left my house about an hour earlier than normal. I couldn't contain my excitement. I was the 3rd car in the parking lot. I came into the school and had to ask the custodian to let me into the classroom. And look who I got to meet!!!!! 


We had a baby chicken! One of our eggs had hatched in the night. He was still wet and wobbly. Oh so so cute. I was in love. 

Here is our 1st selfie: 


The other eggs had made some progress but no new chicks yet from the other eggs. I could see little beaks peeking out and little chickens moving around inside.


Before I knew it, it was time to go on duty. We had a hard time taking our eyes off of the hatching eggs. Every classroom could stream these little guys hatching. What a fantastic mixture of science and technology.

We watched chick # 6 and chick # 8 hatch during the day. What an amazing experience.

We had 4 chicks that had hatched when I had to leave for my part-time job after work. I got to work and logged onto the computer to watch the 5th chick hatch. Then when I got home that night there were 6 chicks and 1 was just working hard to hatch too. Before I went to bed we had 7 chicks in that incubator and a couple more were starting to crack.

This morning when I got to work I was surprised to find 9 chicks in that incubator. NINE chickens!!! WOW!!! Egg # 1, 2, and 12 had no progress still which is normal. They may not have been fertilized in the first place so we weren't concerned. One of the EA's and I carefully moved our chicks to their new home. CHICKtopia was awaiting them.:


Our chicken's seemed much happier and relaxed in their spacious brooder box. They found the warm spot under their light and all settled down for their first of many naps.


Throughout the day some of them got to come out to play with the teacher's, ECE's, EA's and everyone in between. We took 4 groups through today of our kindergarten children to have a time to look closely, ask questions and pet them. We will try holding a little later but for now we started with petting


I only got pooped on 3 times today. Not too bad. They are the cutest little things ever and I am so amazed by all that they go through. I love their chirping. It is so beautiful. That's all for now in regards to our chickens. I will leave it at that and share some other very important updates another time. Thanks for reading!

Sunday, April 6, 2014

Chicken update as we prepare to become mommy's and daddy's

I wanted to find a few minutes to update you on our chickens as some amazing things have happened in our class. I took some photos of the eggs the other day:


Notice anything new? You shouldn't. They still just look like eggs. But we are less than 48 hours away from our hatch. Our chickens are getting too big for those shells now and are almost able to reach the air pocket and take that first very important breath. Wow. What a miracle of life. What an honour to facilitate this process. I think it may mean more to me than it does to my children but they are sure getting excited too. We have been sharing what the inside of those eggs look like every single day with the ihatch app. The children have also been drawing their own interpretations and writing a sentence about all that is happening. We are already at day 19. How time flies. 


The children can tell you what all the parts inside the egg are, how the chicken will hatch, how long it may take, what growth and development is happening etc. They are totally getting this. On Friday we did a craft together for them to take home and share with their family's. It was 2 plates that spin to show the different stages of development inside our eggs. The majority of them turned out amazing. They knew the order they needed to go in since they have been watching these chicks grow since day one. 

I hunted for the link for this activity but of course I can't find it now. If you go to www.agclassroom.org/ut and click on teacher centre, then resources you can find a similar paper by searching for kindergarten science resources. It's call "inside the egg, hatching chickens".
But here is what it looked like:

There were 8 pictures in total for the kids to colour and cut out. Then they glued them on the plates and hey budda boom budda bing. 

Ok, now I can get to the really cool part. With the hatching fast approaching, Mrs. K went to the principal to see if there was any way at all that we could have the incubator in our classroom during the  3 days of potential hatching. The eggs would not be touched, the incubator lid would not be removed please pretty please! Well we can't but our principal came up with an AMAZING solution for us. Are you ready for this? We are live streaming it to our classroom via webcam. Yup you read that right. Our principal went out and bought a webcam. A computer was relocated to right beside our incubator and set up to live stream the eggs. It's on from whenever we log in in the morning until 8pm at night. I believe it took a lot of work through our school and head office to get everything in place. They worked fast and it is such am amazing solution. We got a bunch of licences too so that the majority of the classes can live stream the hatch at the same time. I am so excited for this now. And as for our class, we have been watching bird feeders through a web cam since the beginning of school so this is a concept we are already familiar with. Now we can have the hatching happening all day and still go on with our daily business. I am so blessed to have I this kind of support at our school. They recognized how important this was for our class and went above and beyond to find a solution for us. If you ever read this blog, please know how much this meant to all of us! Thank you!

Finally, over the weekend it was time to put together a brooder box in preparation for our hatchlings. Greenacres recommended a cardboard box 24" X 24" X 18". As someone who is sized challenged I thought a bankers box would fit that scale. I had googled cheap and easy ideas for brooder boxes for classroom use and the best idea I saw had used a bankers box. So when I went to buy one, the sizes were 12"x12"xsomething small. Not even close to what I needed. This was a way more complicated job than I had expected. 4 stores later I was at solutions and looking at their cardboard boxes. I found a big plastic box that was similar to the size I needed but I really didn't want to spend $32.99 on it. So I was humming and hawing over the cardboard ones as none of them were my exact dimensions. I ended up going with a box that was 18"x18"x27". I duct taped it together at home and Laid the box on its side. Then I cut my own top into it. So here is a bad photo from the side:


I cut half the top off by cutting down into the side, and the other half just straight off. My dad and sister helped me out here too. We added dowels under the lid to support the weight from the light. There is also a hole cut in the top for the light to go through. 

We had a piece of plexiglass lying around that we used to help keep some of that heat in but since the roof is 2 different heights, it also allows for air circulation and a great viewing window!


I duct taped a garbage bag in the bottom to help with spills and then covered the whole bottom with wood chips. Yes there are 3 thermometers there. They won't all be there when the chicks come but I had purchased the little round one and we were just ensuring that the temperature reading was accurate.

As a final note for tonight, here is our baby chickens today:

I can't wait to share about the hatch!

Sunday, March 30, 2014

Word wall

I just have a few things to share and I am really trying to keep this one short and sweet. I'm working my kindergarten job, a part time retail job and putting myself through some university courses so time is of the essence. Right now I feel like I'm even scheduling meal times into my day planner just to time manage to the fullest. Okay, enough about that....

I wanted to share this new word wall Mrs. K and I created. We got the idea from another teacher (the one we do reading buddies with in fact). And we even asked our high school volunteer student to create the chart for us.... So I guess we really didn't make it at all hahaha. Any way, the point here is that this is a great idea. It just has post it notes on each of the squares and this word wall can be inquiry specific - as in for us, we are doing birds and working on our chicken eggs right now so we are filling this word wall with all the new words we are learning to go with our hatching program (incubator, hatching, brooding, comb, egg tooth, etc.). But this could also be used for just generic words the children are struggling with. Or it could be used for new words that get brought up throughout the course of the year. 

The children really took a liking to this chart and used it for their egg observation book. It gave them a bit more independence with their writing since they could easily walk over to the chart, find the letter of the word they were trying to spell and then using their sounding out skills to figure out which word they needed to use. It got a lot of use on its first day in our class!


Friday, March 21, 2014

Day 3 of our eggs

So here we are on day 3. The children are getting so excited now. It's a bit more palpable with their eagerness to go and visit the incubator. I wanted to share our egg wall again (in case you missed it yesterday):

So I put up all those eggs on our wall and every day that goes by I stick up what our chicks look like on the inside of their egg. It's a nice reference point for the children to look at and keeps us counting down to hatch day. Today our baby chicks are starting to get their limb stumps and their heart is starting to form. 


At lunch today we watched the magic schoolbus episode where they go inside an egg and get to watch it grow. We had watched it before but I decided we should watch it again now that we have our own chicks. They were so excited to see some of the similarities between our chicks and the magic schoolbus chicks.

We also added to our observation books today so the children drew out what the egg looks like and wrote a sentance. When they had finished day 1, 2, and 3 we let them sneak a peek at day 4 and 5 since we will not be in school over the weekend. Tomorrow our chicken's heart starts to beat and on Sunday they begin to look more like a chicken.


It's a pretty exciting time to be in our class! I'm sorry for the jumpy post today. It's a bit short and sweet as I watch my iPads battery level decrease. Have a great weekend and I can't wait to share more next week.

Thursday, March 20, 2014

Day 2 of our chicken eggs

Only 19 more days to go! I made a chart for our wall today to mark the days. 
I just cut out egg shapes and wrote the day on them. Then I took a poster of the egg development, and cut it apart into individual pictures. I blew up each day to a much bigger size and cut them out. I laminated everything and now every day that passes, we will put up the picture to go along with it. 

I also made a sign to sit beside the incubator that says "today:" and then each day I put up what is happening inside the eggs. So today's said "Today: my eyes and ears are starting to form".

Our ihatch app today showed us how the vessels are forming in our little embryos and it now has eyes and ears. Pretty exciting. 


One more note before I head to bed... The kids are getting excited now. I saw it a bit in there play today and in their understanding of our new words like "incubator", "thermometer", and "Brooder box" just to name a few. Mrs. K made some science books today on her prep for us to start using. We made writing paper with an egg shape for the picture square and the lines underneath for writing. Each day we will encourage the children to expand on what they are observing and learning and write/draw about  it on there paper. Then we will have a nice book to send home in the end. Some of their drawings were so good today!

Wednesday, March 19, 2014

Our new friends

Sorry I haven't posted much. We had march break and then things just got crazier and crazier. I had been trying to get chicks in our class for a while and finally people started getting back to me but there are always hurdles to jump over. Now give me my 2 seconds to vent and then I will get to the positives... The big nail biter was that we weren't sure if we were allowed to do eggs anymore. So 2 weeks worth of inquiring and a whole bunch of people asking people asking people.... not to mention the fact that if we WERE allowed, there was a lot of prep I had to get done in advance, so just in case we got the all clear I spent a lot of time running around orchestrating everything ... And then we were told no. We weren't allowed to have eggs in our class because according to the day nurseries act chickens/chicken eggs cannot be in a classroom with children under the age of 5. I didn't even know we fell under the day nurseries act in the school system. So now let me jump to the solution to our conundrum. So keep reading.

There is a kindergarten class in our school that has children who are all over the age of 5. So they became the guardians of our chicken eggs. I'm happy that we kind of still get to experience this. And I'm happy that the host teacher is fantastic and doesn't mind at all even if we will constantly disturb her class for the next 28 days. It's just great that I didn't end up having to webcam the 28 days of chickens into the classroom from my bedroom hahaha. 

So my wonderful dad and sister drove out to pick up my eggs for me and then delivered them to the  school. Our incubator was being fixed so they picked that up too. It took me about 2 hours to get the incubator set up and the temperature steady. Then I got to add the eggs. What happy chickens they will be. We didn't really have any notice to prepare the children for their arrival since we had been waiting 3 weeks to hear if we were allowed to have them or not. Our chickens came today (Wednesday) and we only heard yesterday that we were not allowed. So the children were never told in advance. Which is too bad because we could have done some awesome activities in preparation for them. Once the incubator was all set up, we finally told the children. It was a hard thing to explain to them since the incubator and eggs were nowhere near us. We showed them pictures and talked about how exciting this will be. Then I told the children I was going to go out and add the eggs to the incubator and one boy said "you mean we have real eggs?" Did we not just have an entire conversation about this hahaha. Anywho, so we then took the kids down 4 at a time to see the eggs. 

We talked about how for the next 21 days all we will see is eggs but on the inside it is changing everyday. Now here is the awesomest part.... I actually found an AMAZING app that shows them what is happening on the inside of the eggs. I have my iPad everyday in the classroom so it was neat to get to use it for this purpose too. The app is an iPhone app (but works on iPad too) and  it is called "ihatch" if you are interested in it. Here is a screen shot of day 1:

So it starts by just showing the egg. Then you touch it and it shows you what it looks like if you candled the egg on day one. Then you tap it again and  it shows you the inside of the egg. Do you see that red spot? That's our chicken on its first day! You can swipe the screen and it has a write up about what is happening, and even gives you tips and reminders on the incubation. Amazing. What would life be like without technology (disclaimer: I do know what life would be like without technology. I am only a little naive, not a lot.)

I can't wait to share more about our eggs as time goes on. Stay tuned! 

Wednesday, March 5, 2014

Mold - a scientific choice

In health class, we have been talking about mold and germs. You can seriously ask my kids about germs and they will literally use the word "microbes" to explain all about it. Awesome. So we decided to do the mold experiment. We split up into 3 groups and thought about where we would find germs around our classroom. One group chose the classroom sink, one group chose the floor by our cubbies and the other group chose the toilet. It's only been 3 days now and no mold yet. I will update you when the excitement starts.
 

Take home reading program

This week, Mrs. K and I worked really hard to start a take-home reading program. We put together 19 of these duo tangs for the kids. I'm sorry the photos are a bit fuzzy but I think you can still make it all out. 
So they take the book and duo tang home on Monday and read it with mom or dad or someone else. Then on Tuesday they read it again. On Wednesday they read it again and draw a picture and write a sentance about it. Then on Thursday they return it. I am excited to see how many return it tomorrow and what they created.

Silly surveillance

Yesterday I had a group of the kindergarten kids with me in the cubby room. We have our bathroom right at the end of the cubby room and we often get some very silly things happening in there instead of using the bathroom. So I had this group of kids chatting with me in the cubby room and one of them says "what's that up there?" I asked "that box?" And he said "no the thing on top.":

I looked up and saw the box and little light he was talking about. I said "oh that. That light tells us when people are being silly in the bathroom. So if someone is fooling around or not doing the job they're supposed to do, then that light goes on to let the teachers know they need to come check it out."

Guess how many silly's we have had in the bathroom ever since?

Colour mixings and all the fixings!

So we got into colours and colour mixing lately. I've been busy slowly building and introducing new and different discovery bottles lately. The latest ones I made were about mixing colours. I used a Gatorade bottle and filled it up halfway with water and yellow food colouring and the other half was blue lamp oil. Oil and water don't mix so the 2 colours stay separate. When the child shakes the bottle the colours mix into green and then slowly separate again. How neat! A few of the kids were exploring How the 2 colours combine and make the new one. I was asking them questions and thought, hey. Why not take this up a notch. So we brought our exploration to the guided table and brought out the food colouring. 

I filled a water bottle up with water so we had it at the table with us. I grabbed a stack of these small clear cups ($6.99 at party city for a huge sleeve of them) and poured a small about of each food colour into 3 cups (red, yellow, blue). Here is where I got REALLY smart. I put a few Q-tips in each of the food colouring cups. That eliminated the potential pouring mess of the children pouring food colour (eeeeek), made it easier to see the colour (on the end of the white Q-tip), doubled as their stir stick and gave them the perfect amount of food colouring to play with. I added some writing to this activity by having the children first write the colours that they wanted to mix. They then poured a little bit of water into the cup and chose their food-colour-saturated q-tip.


Mrs. K came up with a great idea to preserve their colour mixing by pouring a bit of the water onto each of the words. Then the puddles dried and we could see which colours they made.

We extended this activity later in the week kind of by accident. We read the book "sky colour" during library since we are working our way through the silver birch books. We decided to run with the colour theme a bit deeper and actually got out some paints. We only gave the children red, yellow, blue, and white on a paper plate. They each got 1 paint brush, their own tiny clear cup of water and 3 tiny clear cups to colour mix in. 


One of the children accidentally dropped his paintbrush on his paper and it made a red line. He shrugged and said "oops, that's okay, I will make it into a rainbow!" I just loved that.

Do you have any other ideas to expand on this?

Monday, February 24, 2014

Beating the lunchtime crazies


Lunch has been a very challenging time for me in the classroom. I'm usually very stressed out and frustrated by the end of lunch hour and I am forever trying to find the system that works best for everyone. Last week I changed things up a bit and I wanted to share this new system. Our kindies go out for recess first and then come inside and eat lunch. They take off all their gear, grab their lunch bags and come find their seat. I have laminated name tags that I made that tell the children where they are sitting. I do have a seating plan so usually they sit in the same place very day. So my kindies come in, eat lunch and they USED to finish lunch, out away their lunch bag and come in the class to play with a green toy at their desk. It was getting crazy, children kept leaving the room without permission, they were starting to okay all over the classroom, I was being stretched in all directions and it was getting frustrating. So I changed it up. NOW what they do is when they are I unfinished, I check their lunch to make sure they aren't pulling my chain and then they put their lunch bag underneath their chair (this way nobody has to leave the class during lunch hour). Once one person is finished, they get a bucket to play with. 
I have 5 tables in my classroom so when I put out their nametags, I also put a number on their table (1-5). That's the number bucket they will get that day. I named the buckets somewhat generically so I can easily change the contents once all the tables have had a turn. 
The reading bucket has books, the colouring bucket has colouring pages and crayons, the discovering bucket has search and find books, the creating bucket has paper and pencils, and the playing bucket has blocks. At the end of lunch, the children have to clean up their bucket and I come around to dismiss them to put their lunches away. So far this system has worked very well. A few are still going out into the hall at clean up time instead of waiting to be dismissed but other than that, this system is relatively stress free for me. 
Tomorrow I will be changing the contents of the buckets. The books will get some different books, colouring will get some new pictures, discovering I may put in search and find placemats instead of books, creating I think I will put in some writing paper (with a picture area and sentance area). And playing bucket I think I will put in the wooden puzzles.

Our toy bucket system


Tonight I wanted to share our toy bucket system. All of our toys are either just on the shelf (like blocks and doll houses) or in those white buckets. If you look closely at the photo, you may be able to see the green or yellow or red dot sticker on the photos. All of our toys have one of those dots. Green dot toys are usually a quieter toy or one that is easy to clean up. Yellow dot toys are still not too messy but the kids get a bit wilder and then the red dot toys are crazy people toys. When the children get time to choose toys, we usually say something like "yellow and green toys only", or " you can play with green, yellow, or red right now". The children know which toys are available to them and which ones are not. Sometimes the toys even get new stickers on them. One of our previously green sticker red buckets started to get really messy. The children were dumping the small pieces out or taking forever to tidy it up so it became a yellow toy. 

This way of toy labelling has helped us out a lot in classifying our toys and it's a much simpler way of expressing to the children which toys are available and which ones are not. Sometimes we just don't have enough time in the period to get into the more involved red toys. It's very easy to implement and very easy for the children to learn and understand. 

Friday, February 21, 2014

Flood!


Well I got to work this morning to find my classroom flooded!!!! Although the picture doesn't do it justice, there is about 2-3 inches of water on my floor. Which was quite an improvement from the foot of water that was there originally! 

The children adapted beautifully. We spent our day in the library and just had a good ol day. The children used their wonderful writing time to brainstorm how our room was flooded. They drew pictures and wrote their ideas down. The librarian pulled a great book for us to enjoy called "Matthew and the midnight flood". It was illustrate by they are guy who does Robert Munch books. It was so cute. At lunch on Friday's we usually watch magic schoolbus so although we were in a different classroom, we still got to watch it. Today we chose to watch the episode about the water cycle. How suitable. It was quite a difrent way to spen our Friday but I was so proud of our children. They really adapted well to this change.